Introduction
Have you ever craved a delicious, creamy cheesecake but didn’t want to spend hours in the kitchen?
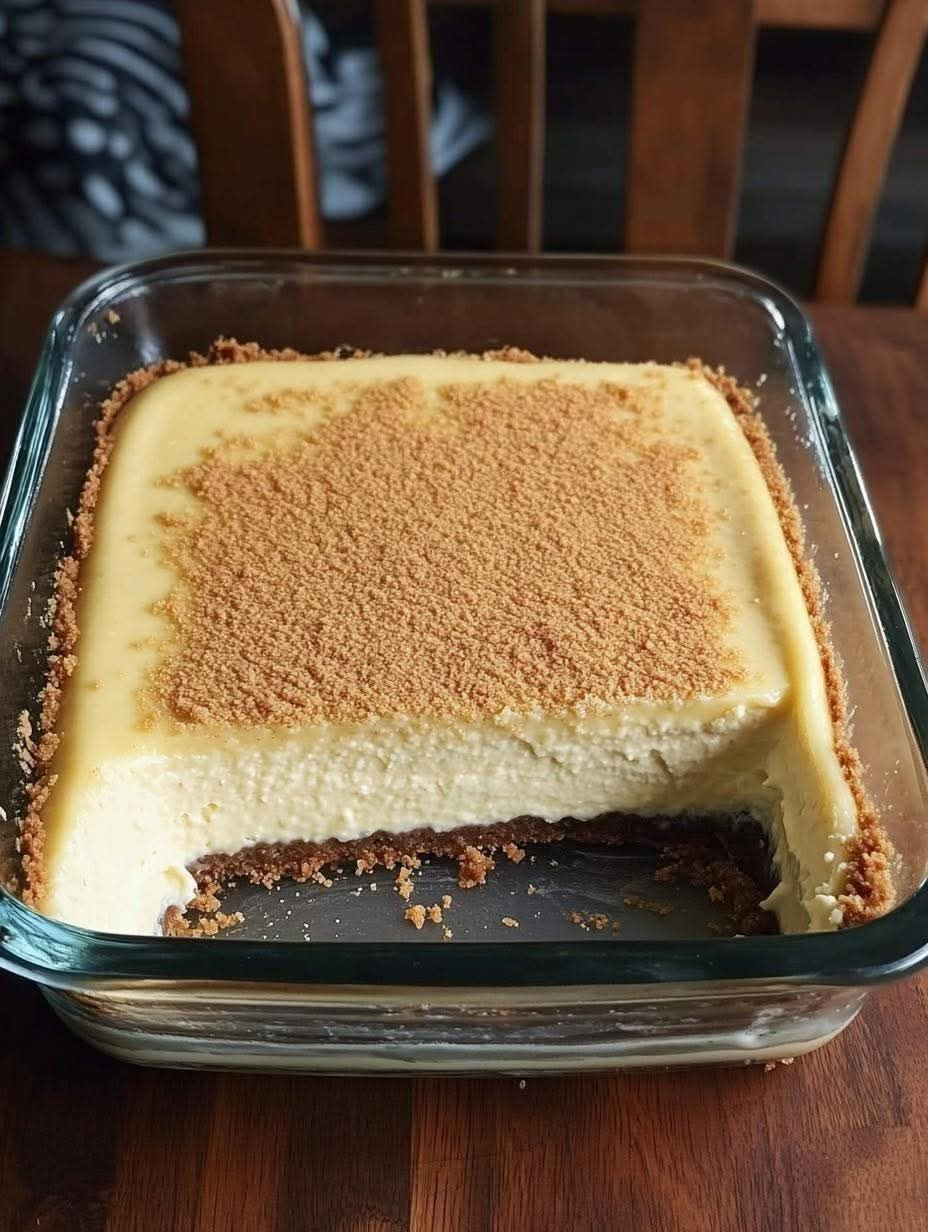
Look no further than the No-Bake Woolworth Icebox Cheesecake! This recipe is perfect for those who want a delectable dessert without the hassle of baking.
With its fluffy texture and rich flavor, this cheesecake is sure to become a family favorite.
Why You’ll Love This Recipe
There are several reasons why you’ll fall in love with this No-Bake Woolworth Icebox Cheesecake.
First and foremost, it’s incredibly easy to make. There’s no need to preheat the oven or worry about baking times.
Simply mix the ingredients together, refrigerate, and you’re good to go! This recipe is also quick to assemble, making it a perfect last-minute dessert option.
Another reason to love this cheesecake is its light and fluffy texture.
Unlike traditional baked cheesecakes, this no-bake version is airy and almost mousse-like.
It melts in your mouth with each bite, leaving you craving more.
Plus, the creamy filling pairs perfectly with the buttery graham cracker crust.
Lastly, this recipe can easily be customized to suit various dietary preferences.
If you’re looking for a healthier option, you can use low-fat cream cheese and substitute sugar with a natural sweetener.
You can also get creative with the toppings, adding fresh fruits or a drizzle of chocolate sauce.
Ingredients
To make this mouthwatering No-Bake Woolworth Icebox Cheesecake, you’ll need the following ingredients:
2 cups graham cracker crumbs
1/2 cup unsalted butter, melted
2 (8-ounce) packages cream cheese, softened
1 cup granulated sugar
1 teaspoon vanilla extract
2 cups heavy cream
Fresh berries (optional, for garnish)
Note: If you prefer a chocolate crust, you can substitute the graham cracker crumbs with crushed chocolate cookies.
Step-by-Step Instructions
In a medium bowl, combine the graham cracker crumbs and melted butter.
Press the mixture into the bottom of a 9-inch springform pan to form the crust.
Refrigerate while preparing the filling.
In a large mixing bowl, beat the cream cheese, sugar, and vanilla extract until smooth and creamy.
In a separate bowl, whip the heavy cream until stiff peaks form.
Gently fold the whipped cream into the cream cheese mixture until well combined.
Pour the filling over the prepared crust in the springform pan.
Smooth the top with a spatula.
Cover the pan with plastic wrap and refrigerate for at least 4 hours or overnight to allow the cheesecake to set.
When ready to serve, remove the sides of the springform pan.
Garnish with fresh berries if desired.
Pro Tip: For a neater presentation, run a knife around the edges of the cheesecake before removing the sides of the springform pan.
How to Store:
Refrigerator:
Cover the cheesecake tightly with plastic wrap or place it in an airtight container.
Store in the fridge for up to 5 days. It actually tastes even better after a day or two as the flavors meld.
Freezer:
Want to make it ahead? Freeze it! Wrap the cheesecake (whole or in slices) tightly in plastic wrap, then foil, and place in a freezer-safe container.
It will keep well for up to 1 month.
To serve, thaw overnight in the refrigerator.
The texture may be slightly softer but still delicious.
Variations:
Citrus Zing:
Add 2–3 tablespoons of fresh lemon juice and a teaspoon of lemon zest to the filling for a refreshing twist.
Berry Swirl:
Swirl in a few tablespoons of berry preserves or fresh fruit purée before chilling for a marbled look and fruity burst.
Chocolate Lovers:
Use a chocolate cookie crust and mix in mini chocolate chips or drizzle chocolate ganache over the top.
Tropical Delight:
Add crushed pineapple (well-drained) or shredded coconut to the filling for a tropical flavor.
Individual Servings:
Layer the crust and filling in small mason jars or dessert cups for easy, portable servings.
Tips:
Use Cold Tools for Whipping Cream:
Chill the bowl and beaters before whipping the cream—it helps create better volume and stiffer peaks.
Softened Cream Cheese Is Key:
Make sure your cream cheese is fully softened to avoid lumps in the filling.
Let It Chill Fully:
For the best texture and sliceability, let the cheesecake chill for at least 4 hours—overnight is even better.
Smooth Top Tip:
Use an offset spatula or the back of a spoon to level the top neatly before chilling.
Topping Ideas:
Try whipped cream, crushed nuts, cookie crumbs, fruit compote, or a drizzle of caramel or chocolate sauce.
Per Slice (1 of 12):
Calories: ~360 kcal
Total Fat: 28g
Saturated Fat: 17g
Cholesterol: 85mg
Sodium: 210mg
Total Carbohydrates: 21g
Sugars: 17g
Protein: 4g
Calcium: ~80mg
Fiber: <1g
Note: These values are estimates and can vary depending on the specific brands and ingredient substitutions used .
(e.g., low-fat cream cheese, sugar alternatives, or different crust options).
