The 15-Minute Miracle Cake: A Dessert That Creates Its Own Layers
1. Introduction: The Dessert That Defies Logic
Every once in a while, the internet gives us a recipe so mesmerizing, so unexpectedly simple, and so astonishingly delicious that it sweeps through social media like wildfire.
This is one of those recipes. At first glance, the idea of a cake that produces two perfect layers—one fluffy cake, one creamy custard—without any special technique seems unrealistic. But this recipe proves that kitchen magic is absolutely real.
With just a whisk, two bowls, and familiar ingredients you probably already have, you can create a dessert that feels like something from a pastry chef’s showcase.
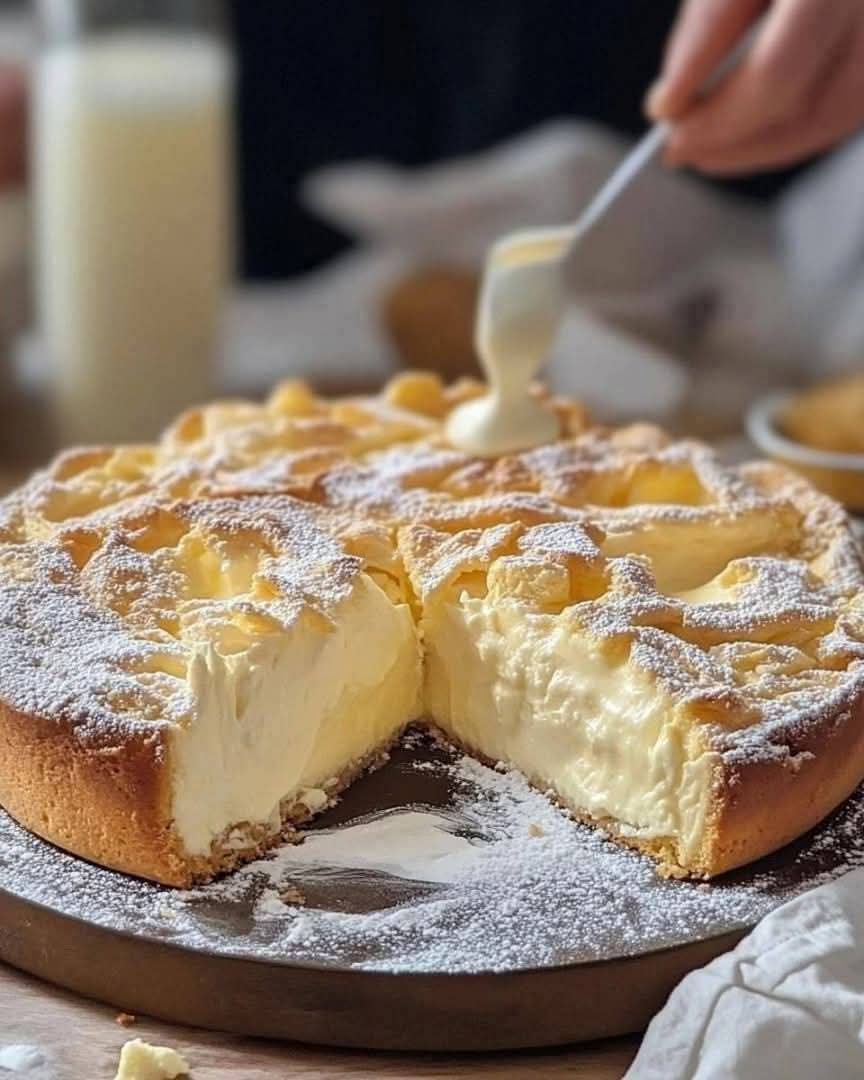
This cake begins with a thin, silky milk mixture poured directly into the pan. On top, you gently layer a thicker batter that transforms in the oven. As it bakes, the ingredients naturally separate according to density and heat response, forming a tender golden cake on the surface and a velvety custard beneath.
It’s dramatic, delicious, and unbelievably easy. The best part? You only spend about 15 minutes actually working. The oven handles the rest.
Whether you’re entertaining guests, surprising your family with a beautiful dessert, or simply craving something sweet without the hassle, this miracle cake never disappoints. It’s visually impressive, beginner-friendly, and guaranteed to become a repeat favorite.
2. Why This Recipe Works: The Science Behind the Magic
This cake works because it leverages density differences and the way eggs, starches, and fats behave during heating. The bottom mixture—the custard base—is thin, heavily dependent on liquid, sugar, and egg.
It naturally settles at the lowest point in the pan. The top mixture—the cake batter—contains flour, oil, and leavening, making it thicker and lighter.
When baked:
The cake batter sets first, rising slightly due to the baking powder and forming a structured top layer.
The custard beneath heats slowly, thickening and solidifying at a different rate because of the cornstarch and egg proteins.
The boundary between the two stays clean because the mixtures were never blended together.
This strategic contrast in texture and density allows the cake to “split” into two perfect layers without any effort from you. It’s pure food science, beautifully executed.
3. What You’ll Need for This Recipe: Ingredients for Guaranteed Success
You need only basic ingredients. Nothing fancy. The magic happens in how they combine.
For the Custard Base Layer:
1 egg
50g sugar
10g vanilla sugar (or 1 tsp vanilla extract + 10g extra sugar)
15g cornstarch
250ml milk (preferably whole for richness)
For the Cake Top Layer:
2 eggs
100g sugar
Pinch of salt
100ml milk
50ml vegetable oil
170g all-purpose flour
1 tsp baking powder
50g chopped almonds (for crunch and aroma)
Everything here is accessible and affordable—yet the result is spectacular.
4. Essential Equipment: Simple Tools, No Mixer Required
One of the best features of this recipe is that you don’t need a stand mixer, blender, or any special baking equipment. A straightforward setup is all you need:
Two mixing bowls
A whisk
A spatula
An 8×8 inch (or 20×20 cm) baking pan
A sieve for flour and baking powder
A wire rack for cooling
This simplicity makes the recipe ideal for beginners, teens learning to bake, or anyone looking for a hassle-free dessert.
5. How to Make the Custard Base: The Foundation of the Layers
Start by preparing the liquid layer that will settle at the bottom of the cake. In a mixing bowl, whisk together the egg, sugar, and vanilla sugar until pale. This helps incorporate air and dissolve the sugar grains. Next, add the cornstarch and whisk until the mixture is lump-free. Slowly pour in the milk while continuing to whisk.
The result is a smooth, thin mixture. Pour this directly into your baking pan without greasing it. An ungreased pan helps the custard cling to the cake layer as it bakes, ensuring clean separation.
6. Making the Cake Batter: Light, Fluffy, and Foolproof
In your second bowl, whisk the two eggs with sugar and a pinch of salt. Whisk for about one to two minutes until the mixture looks paler and slightly thicker. Add the milk and vegetable oil, whisking until smooth.
Sift in the flour and baking powder. This removes any lumps and aerates the dry ingredients. Gently mix until you achieve a thick, velvety batter. Avoid over-mixing—this can make your cake tough.
7. Assembling the Layers: The Trick That Makes It Magical
To keep the batters from mixing, spoon the thick cake batter over the thin custard mixture in small dollops. Don’t pour everything in at once. This technique helps the cake batter stay afloat. After dolloping, use a spatula to carefully spread the batter to cover the entire surface. You want a smooth top without disturbing the liquid layer beneath.
Sprinkle chopped almonds evenly over the top. These will toast in the oven, adding texture and fragrance.
8. Baking the Cake: Temperature, Timing, and What to Look For
Bake at 350°F (180°C) for 35–40 minutes. The cake is ready when:
The top is deep golden
The almonds are toasted
A toothpick inserted into the cake layer only comes out clean
The custard layer will still have a gentle jiggle—this is normal and perfect.
9. The Cooling Process: A Critical Step You Cannot Skip
Cooling is essential for achieving distinct layers. The custard will continue setting as it cools. If you slice the cake while warm, the layers may run together, and the texture won’t be as silky. Cool the cake completely on a wire rack before cutting. This patience pays off with flawless slices.
10. Tips and Tricks for Recipe Success
Here are the most important tips to ensure perfection:
Weigh your ingredients for accurate density balance.
Do not over-mix after adding flour.
Spread gently when covering the custard.
Bake until deeply golden—under-baking leads to runny custard.
Let it cool fully for clean layers.
Use whole milk for the richest custard.
Sift dry ingredients for a softer cake crumb.
Follow these, and your cake will be flawless every time.
11. Creative Variations: Flavor Twists You Can Try
Once you master the basic recipe, here are ways to customize it:
Lemon Version: Add lemon zest to the batter for brightness.
Chocolate Version: Swap 30g flour for cocoa powder.
Coconut Version: Replace milk in the custard with coconut milk.
Berry Version: Add fresh berries to the custard layer before covering with batter.
These variations keep the recipe fresh and exciting.
12. How to Serve This Cake: Simple or Elevated
This cake is beautiful on its own, but serving it well enhances the experience. Slice into squares or rectangles, ensuring the layers show clearly. Serve chilled or at room temperature.
Enhancing options:
Dust with powdered sugar
Add fresh berries
Add a small dollop of whipped cream
Drizzle with warm caramel
Because the cake is rich yet light, it pairs beautifully with fruit or gentle toppings.
13. Serving Suggestions: How to Make It Shine
For gatherings, consider these serving ideas:
Serve it on a platter with berry clusters around the edges.
Layer slices slightly overlapping for a beautiful display.
Offer a small bowl of vanilla whipped cream on the side.
Pair it with coffee, tea, or cold milk for contrast.
This cake works equally well as a casual family dessert or a show-stopping treat for guests.
14. Time Breakdown: From Mixing to Slicing
Here’s how the timing works:
Prep time: 15 minutes
Baking time: 35–40 minutes
Cooling time: 1–2 hours
Total time: About 2 hours 15 minutes, with only 15 minutes of actual work
Most of the process is hands-off, making this recipe easy even on busy days.
Final Thoughts
The 15-Minute Miracle Cake is the perfect example of how baking doesn’t need to be complicated to be extraordinary.
With basic ingredients and a bit of understanding of how layers behave in the oven, you can produce a dessert that looks refined, tastes luxurious, and feels almost effortless. Once you try it, you’ll keep coming back to its simplicity, flavor, and the joy of slicing into those perfect layers.