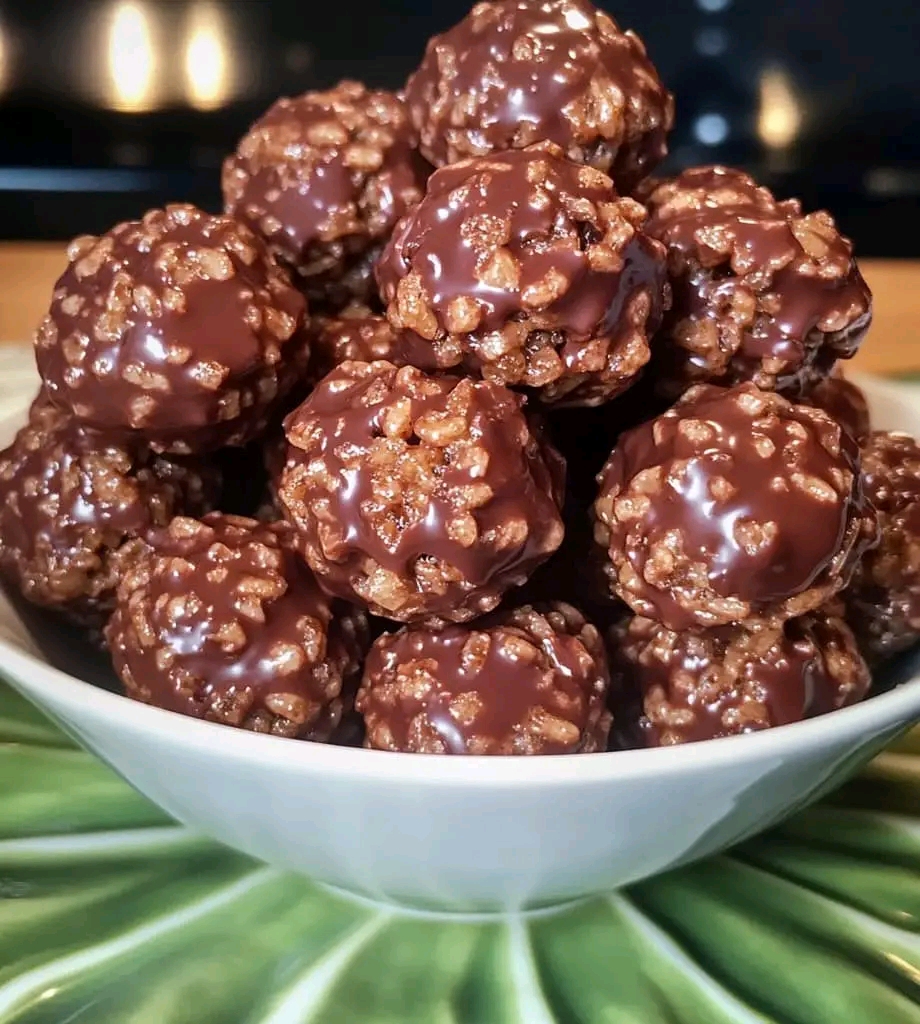
Chocolate Rice Krispie Balls are a delightful no-bake treat that perfectly combines crunch, chew, and rich chocolatey goodness.
These bite-sized confections are easy to make, kid-friendly, and perfect for any occasion, from holiday parties to everyday sweet cravings.
Their nostalgic appeal and simplicity make them a family favorite across generations.
Ingredients Quantity
For approximately 20 Chocolate Rice Krispie Balls:
3 cups Rice Krispies cereal
1/2 cup peanut butter (creamy or crunchy, based on preference)
1/2 cup honey or corn syrup
1 teaspoon vanilla extract
1 cup semi-sweet chocolate chips
2 tablespoons coconut oil (optional, for smoother chocolate coating)
Optional Additions
Mini marshmallows for extra chewiness
Chopped nuts (almonds, pecans, or walnuts) for added crunch
Sprinkles for a decorative touch
Shredded coconut to roll the balls in for a tropical flavor
Sea salt flakes for a sweet-salty balance.
Instructions
Prepare the Base: In a medium saucepan over low heat, melt peanut butter and honey (or corn syrup) until smooth. Remove from heat and stir in the vanilla extract.
Combine with Cereal: In a large mixing bowl, pour the peanut butter mixture over the Rice Krispies. Stir gently but thoroughly until all cereal is coated.
Shape the Balls: Scoop out small portions (about 1 tablespoon each) and roll into balls. Place them on a parchment-lined baking sheet. Chill in the refrigerator for 20-30 minutes.
Melt the Chocolate: In a microwave-safe bowl, melt the chocolate chips with coconut oil (if using) in 20-second intervals, stirring after each until fully melted.
Coat the Balls: Dip each chilled ball into the melted chocolate, ensuring it’s fully covered. Use a fork to lift the ball, letting excess chocolate drip off. Return to the parchment-lined sheet.
Decorate and Set: If desired, sprinkle toppings like crushed nuts or sprinkles on the chocolate coating before it sets. Refrigerate for another 30 minutes until the chocolate hardens.
Serve and Enjoy: Store in an airtight container in the refrigerator for up to a week.
Tips for Success
Consistency is Key: Ensure the mixture is well-combined before forming the balls. This helps prevent them from falling apart.
Wet Your Hands: Slightly damp hands make it easier to roll the mixture without sticking.
Chill Before Coating: Refrigerate the formed balls for 20-30 minutes to help them hold their shape during the chocolate dipping process.
Use High-Quality Chocolate: Choose good-quality chocolate chips or melting wafers for a smoother finish and richer flavor.
Work Quickly with Chocolate: Melt the chocolate in small batches to avoid it solidifying before coating all the balls.
Embracing Healthful Indulgence
While these are undeniably indulgent, small tweaks like using natural peanut butter, dark chocolate, or reduced-sugar alternatives can make them a slightly healthier option.
Savor them in moderation as a delightful way to celebrate life’s little joys.
How to Store Chocolate Rice Krispie Balls
Refrigeration (Short-Term Storage):
Place the balls in a single layer in an airtight container or on a plate covered with plastic wrap.
Store in the refrigerator for up to 1 week to keep them firm and fresh.
Freezing (Long-Term Storage):
Arrange the balls on a baking sheet in a single layer and freeze for about 1 hour to firm them up.
Once frozen, transfer them to a freezer-safe bag or container, separating layers with parchment paper to prevent sticking.
Store in the freezer for up to 3 months.
Serving After Storage:
If refrigerated, serve directly or let them sit at room temperature for a few minutes to soften slightly.
If frozen, thaw in the refrigerator for about 1-2 hours before serving.
Pro Tip:
Keep the container tightly sealed to prevent the Rice Krispie balls from absorbing any odors from the fridge or freezer.
Proper storage ensures they remain crispy, chocolatey, and delicious whenever you’re ready to enjoy them!
