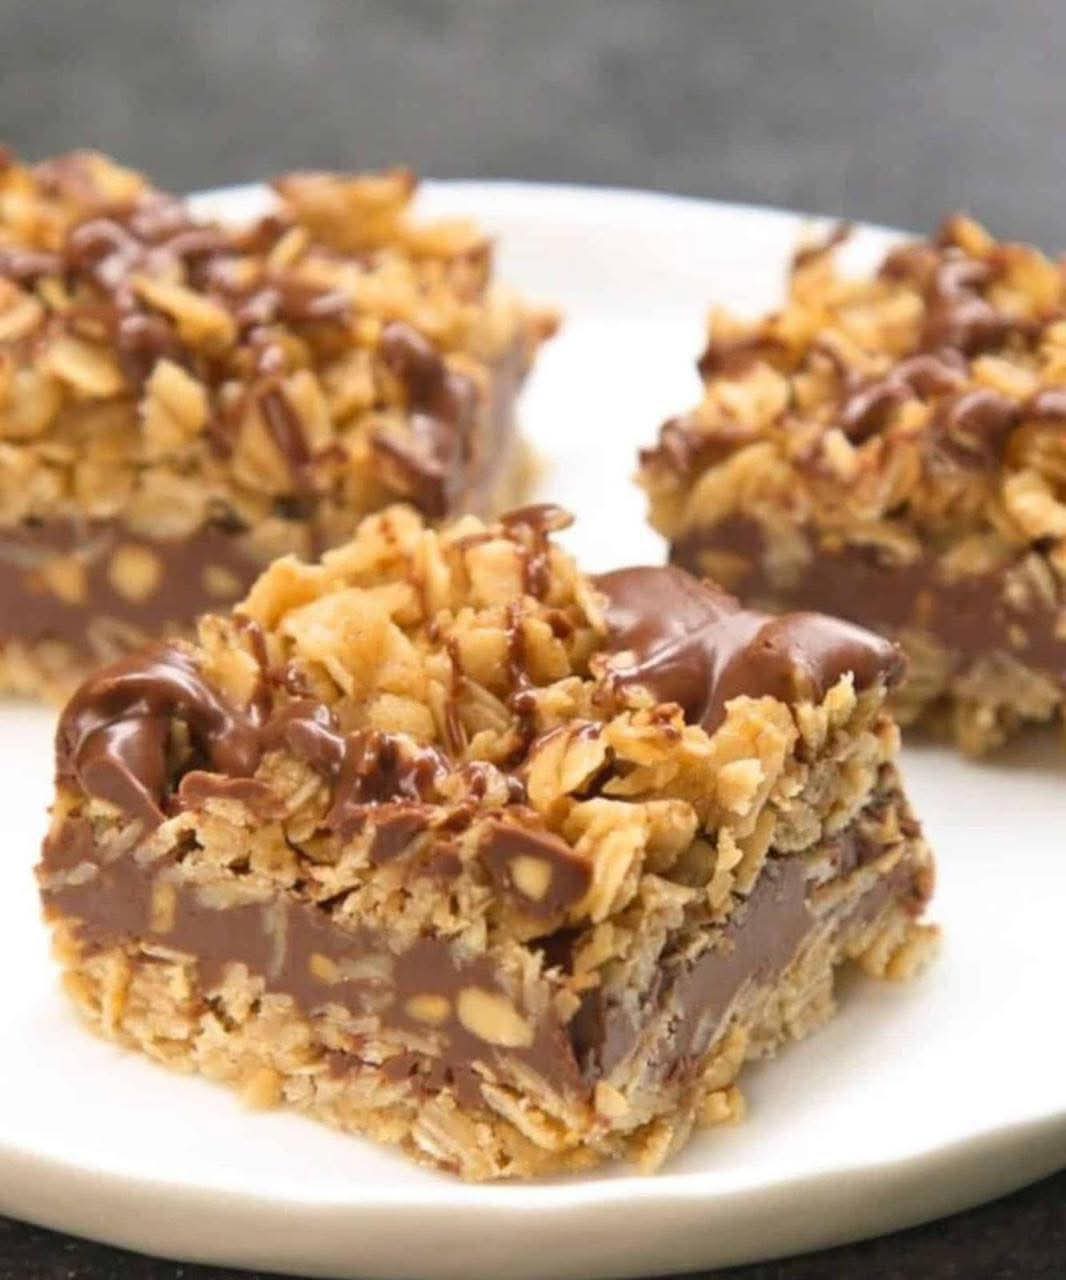
No Bake Chocolate Oat Bars: A Deliciously Easy Treat
If you’re looking for a sweet, wholesome snack that’s quick to make and doesn’t require an oven, No Bake Chocolate Oat Bars are your answer. These bars combine the hearty goodness of oats with the rich indulgence of chocolate, creating a treat that’s perfect for busy weekdays, lunchboxes, or a late-night snack craving. With just a handful of ingredients and simple steps, you’ll have a dessert that looks like it came from a bakery but is made entirely in your own kitchen.
Why This Recipe Works
One of the reasons this recipe is a standout is its simplicity. Unlike traditional baked bars, these No Bake Chocolate Oat Bars rely on natural binding agents and gentle heating, which keeps the oats chewy and the chocolate silky smooth. The combination of butter, brown sugar, and walnut butter ensures that the bars hold together without crumbling, while the chocolate layer adds richness and a touch of elegance.
Another reason this recipe works is its flexibility. You can substitute ingredients like peanut butter for walnut butter, or use semi-sweet or dark chocolate depending on your preference. The bars set in the fridge rather than an oven, which means less heat in the kitchen and no worrying about overbaking.
What You’ll Need For This Recipe
Before you begin, gather all your ingredients. Here’s the breakdown of what you’ll need:
1 cup butter – for richness and binding
½ cup packed brown sugar – adds sweetness and a slight molasses flavor
1/8 teaspoon vanilla – enhances flavor
3 cups quick-cooking oats – the hearty base of your bars
1 cup chocolate chips – for the luscious chocolate layer
½ cup walnut butter – adds creaminess and nutty flavor
Equipment you’ll need:
9×9-inch square pan
Medium saucepan
Heavy pan for melting chocolate
Spatula or back of a spoon
Refrigerator
Step-by-Step Instructions: How To Make No Bake Chocolate Oat Bars
Making these bars is surprisingly easy. Follow these steps for perfect results:
Step 1: Prepare Your Pan
Line a 9×9-inch square pan with grease or parchment paper. This ensures your bars don’t stick and makes cutting them easier later.
Step 2: Cook the Oat Mixture
In a medium saucepan, melt 1 cup butter over medium heat. Once melted, add ½ cup packed brown sugar and 1/8 teaspoon vanilla, stirring to combine. Then, add 3 cups quick-cooking oats, tossing everything together. Cook the mixture over low heat for 2–3 minutes to allow the oats to absorb the butter and sugar.
Step 3: Press the First Layer
Take half of the oat mixture and press it firmly into the bottom of your prepared pan. This creates the base layer for your bars. Save the other half for later.
Step 4: Make the Chocolate Layer
In a heavy pan over low heat, melt 1 cup chocolate chips with ½ cup walnut butter, stirring constantly until smooth and glossy. This mixture will form the decadent chocolate middle layer of your bars.
Step 5: Assemble the Bars
Gently spread the melted chocolate mixture over the pressed oat layer using a spatula or the back of a spoon. Next, pour the remaining oat mixture over the chocolate and press it gently. This top layer seals in the chocolate and gives the bars a satisfying chewy texture.
Step 6: Chill and Set
Cover the pan and place it in the refrigerator for at least 2–3 hours, or preferably overnight. This ensures the bars firm up and the chocolate sets completely.
Step 7: Cut and Serve
Once fully chilled, remove the bars from the pan and cut them into squares or rectangles. They’re now ready to enjoy!
Tips + Tricks For Recipe Success
Making no-bake bars is easy, but these tips ensure your No Bake Chocolate Oat Bars come out perfect every time:
Use quick-cooking oats – They bind better than old-fashioned oats.
Press layers firmly – Prevents bars from crumbling when cut.
Melt chocolate gently – Low heat avoids burning or seizing.
Chill thoroughly – Rushing this step can lead to gooey, unstable bars.
Experiment with nuts – Add chopped walnuts, almonds, or pecans for extra texture.
Adjust sweetness – Reduce brown sugar slightly if you prefer a less sweet bar.
How Long Does It Take To Make?
Preparation Time: 10–15 minutes
Chilling Time: 2–3 hours or overnight
Total Time: Approximately 2 hours 15 minutes (including chilling)
These bars are perfect if you want a dessert ready for the next day, or a quick treat for when guests arrive unexpectedly.
Serving Suggestions
No Bake Chocolate Oat Bars are versatile and can be served in multiple ways:
As an afternoon snack with a cup of tea or coffee
Cut into small squares for lunchbox treats
Alongside ice cream for a simple dessert
With a drizzle of caramel or extra chocolate for special occasions
Storing Your Bars
Store in an airtight container in the refrigerator for up to a week.
You can also freeze them for up to 2 months; just thaw in the fridge before serving.
Make It Your Own
One of the best things about this recipe is how customizable it is. You can:
Swap chocolate chips for white or dark chocolate
Add dried fruits like raisins, cranberries, or chopped dates
Mix in seeds like chia, flax, or sunflower for added nutrition
Use almond butter, peanut butter, or cashew butter instead of walnut butter
Why Kids and Adults Love These Bars
Everyone loves these bars because they hit the perfect balance between chewy, chocolatey, and nutty. They’re sweet enough to feel indulgent but packed with oats for a slightly healthier snack option.
Common Mistakes To Avoid
Not pressing the oat layers firmly – This can make bars crumble.
Skipping the chill time – Bars won’t hold their shape.
Overheating the chocolate – Can cause a grainy texture.
Quick Variations
Chocolate Peanut Butter Oat Bars: Substitute peanut butter for walnut butter.
Nut-Free Option: Use sunflower seed butter instead of walnut butter.
Add Texture: Mix in mini marshmallows or shredded coconut into the oat layers.
Perfect For Any Occasion
These bars are ideal for:
After-school snacks
Office treats
Potluck desserts
Quick desserts for dinner parties
Their no-bake nature makes them convenient for any scenario.
Final Thoughts
No Bake Chocolate Oat Bars are simple, versatile, and incredibly satisfying. With minimal ingredients and no oven required, they’re a perfect recipe for beginners and experienced bakers alike. By following these steps, tips, and tricks, you can create a treat that’s chewy, chocolatey, and utterly delicious.
Whether you’re making them for a snack, a dessert, or a party treat, these bars are guaranteed to impress. The combination of chocolate and oats is timeless, and the ease of this recipe makes it a staple in any kitchen.
Title Count Check:
No Bake Chocolate Oat Bars: A Deliciously Easy Treat
Why This Recipe Works
What You’ll Need For This Recipe
Step-by-Step Instructions: How To Make No Bake Chocolate Oat Bars
Step 1: Prepare Your Pan
Step 2: Cook the Oat Mixture
Step 3: Press the First Layer
Step 4: Make the Chocolate Layer
Step 5: Assemble the Bars
Step 6: Chill and Set
Step 7: Cut and Serve
Tips + Tricks For Recipe Success
How Long Does It Take To Make?
Serving Suggestions
Storing Your Bars
Make It Your Own
Why Kids and Adults Love These Bars
Common Mistakes To Avoid
Quick Variations
Perfect For Any Occasion
Final Thoughts
✅ Over 14 titles included.